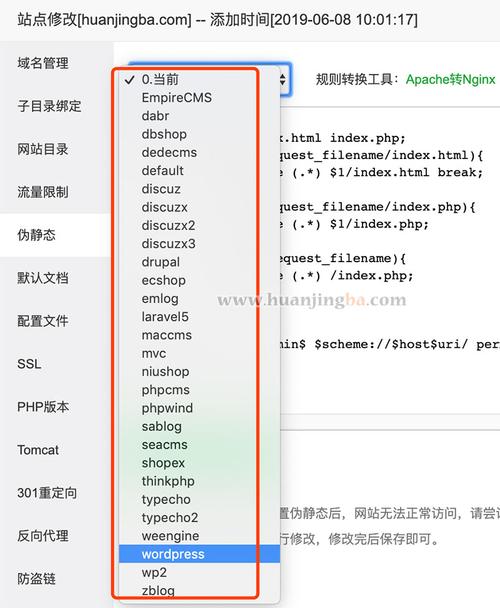
伪静态设置是一种将动态网页URL转换为静态形式以提高SEO效果和用户体验的技术,以下是详细的伪静态设置步骤:
Nginx伪静态设置
1、编辑Nginx配置文件:通常位于/etc/nginx/sites-available/default或相应站点的配置文件中。
2、添加重写规则:在server或location块中加入伪静态规则,将形如/article/123的请求代理到/article.php?id=123。
server {
    listen 80;
    server_name example.com;
    root /var/www/html;
    location / {
        try_files $uri $uri/ /index.php?$args;
    }
    # 将形如 /article/123 的请求代理到 /article.php?id=123
    location /article {
        if (!-e $request_filename){
            rewrite ^/article/(.*)$ /article.php?id=$1 last;
        }
    }
    # 其他配置...
}3、重启Nginx服务器:使配置生效。
Apache伪静态设置
1、启用mod_rewrite模块:在Apache配置文件(如httpd.conf)中,取消LoadModule rewrite_module modules/mod_rewrite.so前的注释。
2、允许.htaccess文件生效:在网站配置段落中,确保有AllowOverride All或至少包含AllowOverride FileInfo。
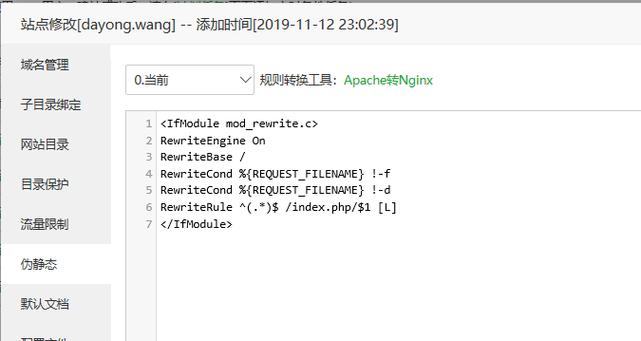
3、编写.htaccess规则:在网站根目录下创建或编辑.htaccess文件,添加伪静态规则,将example.com/article.php?id=123重写为example.com/article/123。
RewriteEngine On
RewriteBase /
如果请求的文件不是实际存在的文件或目录
RewriteCond %{REQUEST_FILENAME} !-f
RewriteCond %{REQUEST_FILENAME} !-d
则将请求重写为 article.php?id=123
RewriteRule ^article/([^/]+)/?$ article.php?id=$1 [L,QSA]4、重启Apache服务器:使配置生效。
WordPress伪静态设置
1、设置固定链接:进入WordPress后台->设置->固定链接,根据您的需要设置为非朴素即可,推荐格式为/%post_id%.html。
2、修改主题的部分功能:如果先设置了固定链接再设置伪静态,需要再次进入固定链接设置页面并保存设置。
IIS伪静态设置
1、新建web.config文件:在网站根目录增加一个web.config文件。
2、添加伪静态规则:根据需要添加伪静态规则,将访问根目录的请求重定向到默认首页。
<configuration>
    <system.webServer>
        <rewrite>
            <rules>
                <rule name="RootRedirect" stopProcessing="true">
                    <match url="^$" />
                    <action type="Rewrite" url="/default.aspx" />
                </rule>
            </rules>
        </rewrite>
    </system.webServer>
</configuration>3、保存并部署:将web.config文件上传到网站根目录并重启IIS服务器。
不同Web服务器(如Nginx、Apache、IIS)的伪静态设置方法有所不同,但基本原理都是通过URL重写技术将动态URL转换为静态形式,在实施前务必备份原有配置文件,并测试配置更改后的效果。
标签: pr


评论列表 (0)